When I first got my hands on the Epson Surecolor P600 I could immediately see it was something new and fresh. Re-skinned in a sexy black casing, large Epson logo on the front and a foldout touch screen, this isn’t a rehashed old printer. The name has even changed from Stylus Pro to SureColor; ok Epson, you have my attention.
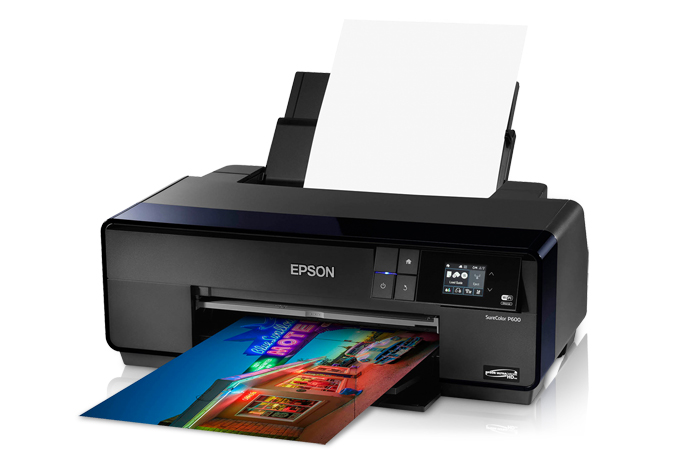
All the stylish new branding is nice window dressing, but what matters to me is how well does this printer lay down ink to make a print, and how good does that print look?
I put the printer through a series of tests and printed a lot of images on a variety of papers and these are my findings.
Set up
First of all, set up was very easy. I easily connected the printer to wi-fi and was able to start printing wirelessly on my Macbook pro right away. (I have never used this printer connect to a hardwire, the wireless works great). I was also able to set it up on my Mac Pro, so I can print from anywhere in the building. The installer was easy to use and installed all the paper profiles and print drivers on install from a single package.
All the paper trays snapped into place nicely. You can adjust some settings on the front LCD touchscreen. Its nice and large and easy to use and read the settings.
Printing
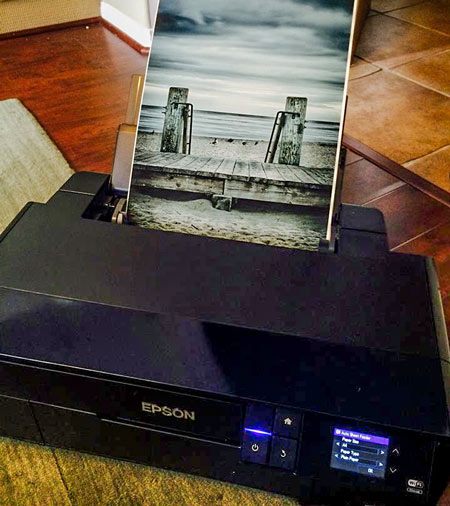
As they say, the proof is in the pudding. After a single print, I could immediately see the improved quality of the prints. The quality of the blacks is something you have to see to believe, it adds so much depth and richness to a print. I can honestly say these are the best prints I have seen from a desktop printer. My (current) favorite papers are the Ultra Premium Photo Paper Luster and Hot-Press Bright. The prints are very sharp with rich-vibrant colors which are accurate to a calibrated workflow. (If you haven’t calibrated your display, it’s hit and miss if you expect faithful reproduction of your colors since what you are looking at on screen has to be correct). The prints I have tested have all be on the larger side, I like to print Super B (13×19). You can print from the rear sheet feeder or from the front feeder. There is an attachment for roll pager and an option to pop down the front tray to feed extra thick papers.
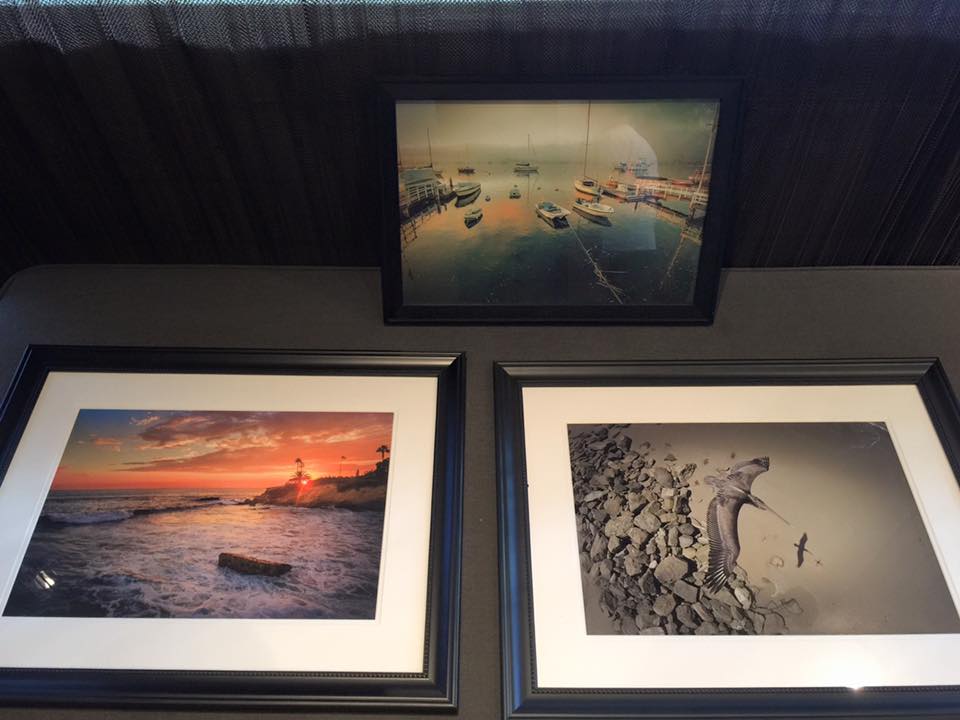
If you have never printed your own images, you are in for a treat. It’s funny because I looked at some store bought prints and they just look horrible and cheap compared to the quality from the P600. It really is something you have to experience for yourself, it’s a whole new level of quality, especially when you use good quality art papers.
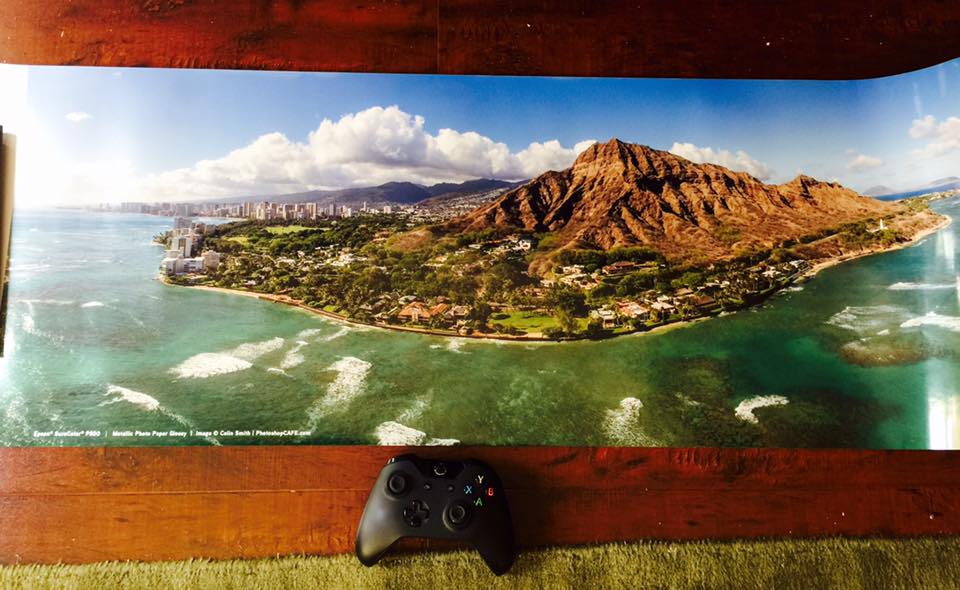
Another thing that I am very interested in is panoramic printing. People that are familiar with my work know that I do a lot of aerial photography with drones. I stitch multiple images (sometimes 20-30) together to create very large panoramic images. If you have never printed any of these panoramas, or seen them printed, you are missing out. I remember the first time I printed one very large, I think it was 6 feet long, I was totally blown away. (the maximum length for a panoramic print on the P600 is ten feet). When you see something with that much detail printed very large it’s a sight to see. I have printed quite a few panos on the P600 on both canvas and luster rolls and they look wonderful. The quality of the prints is better than the R3000 which is what I used to use. You can also print borderless right up to the edges which is nice for gallery wraps and different kinds of mounting rather than matted frames.
When it comes to speed, I really didn’t sit there with an egg timer to see how fast I can bang out a 6 foot panorama. I’m really not expecting it to happen quickly, but I understand it is faster than the R3000. Personally, I hit print and come back later. Maybe I should be supervising it, but I haven’t run into any problems. I do wait until I start to see some printed material coming through the sheet feeder just to see if the colors are correct. Of course, before I commit to a large panorama, I usually print a smaller test print first to make sure the colors are looking right. As you can imagine, you consume a lot of ink doing panos.

Drivers and software:
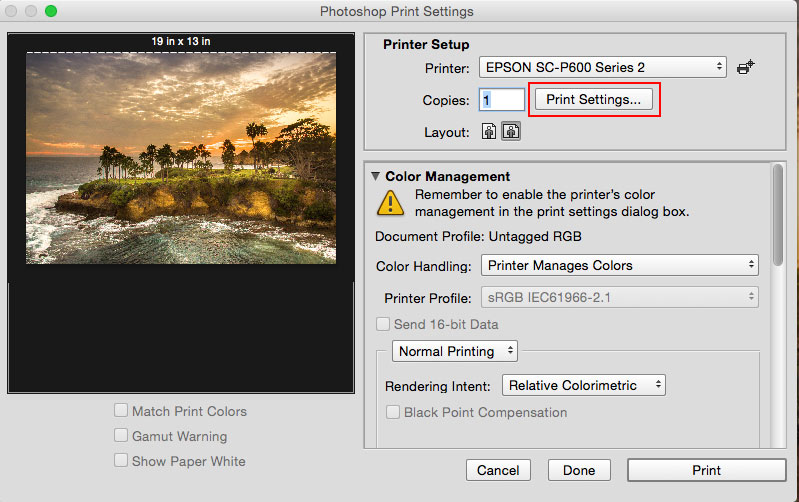
The new print drivers are much easier to use now. Here is a basic walkthrough using Photoshop. File>Print
Choose Epson P600 as the printer, then press Print Settings (Notice I’m using Printer Manages Color for the Color Handling).
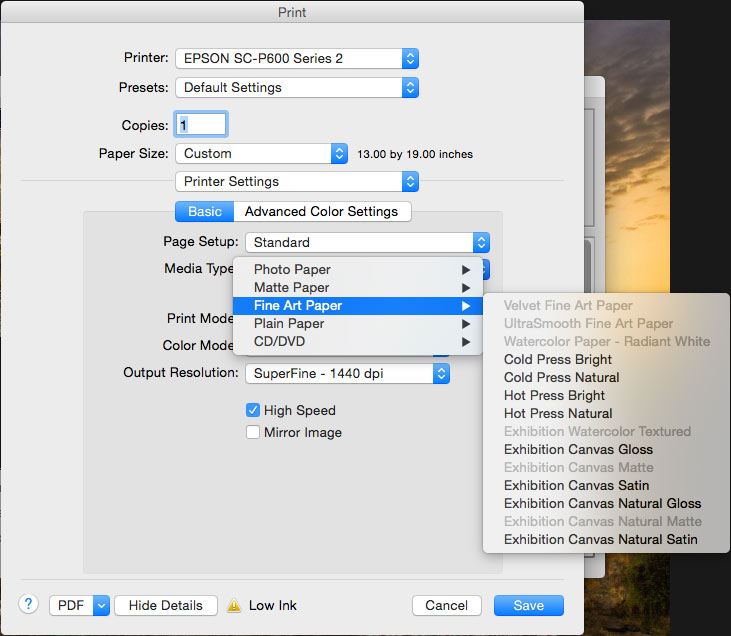
You will see a variet of options, click the media and quality, these are where you will find the option you need. Set your paper size
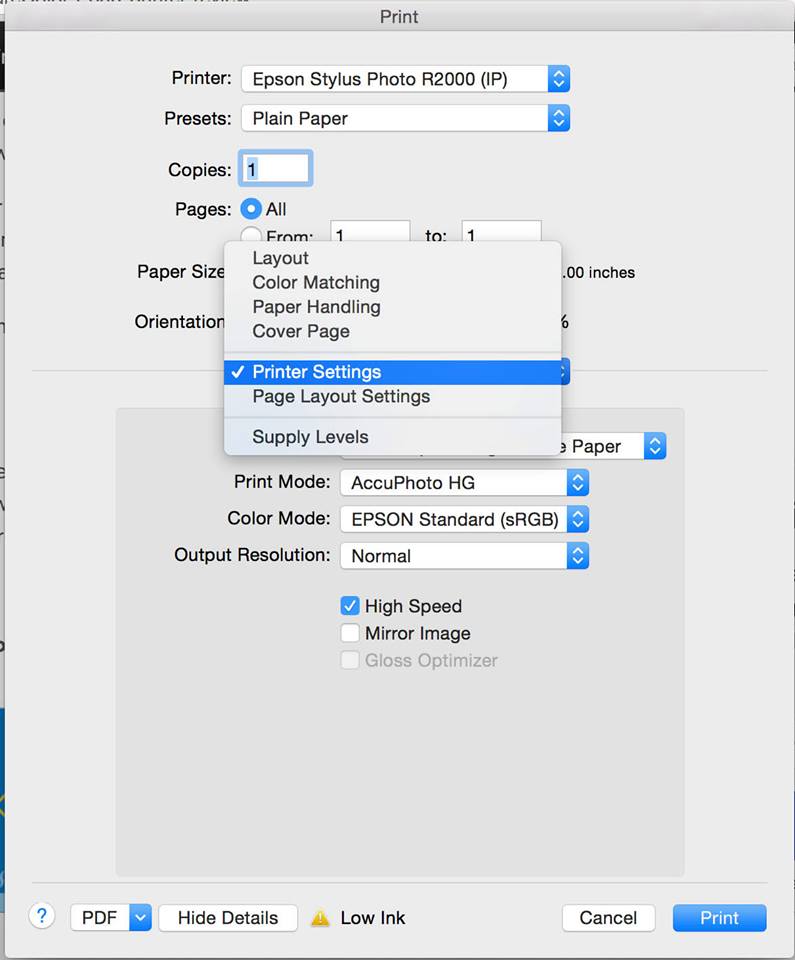
Change to Printer settings Select the quality you would like
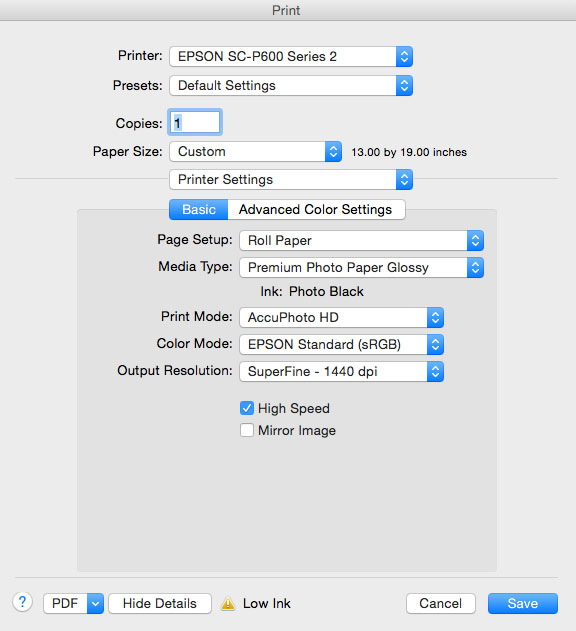
Under Media Type, choose the type of paper that you are using (these are the print profiles)
It’s pretty much that easy to print. Ill be adding a video soon that shown a little more detail as well as instructions for printing a panorama.
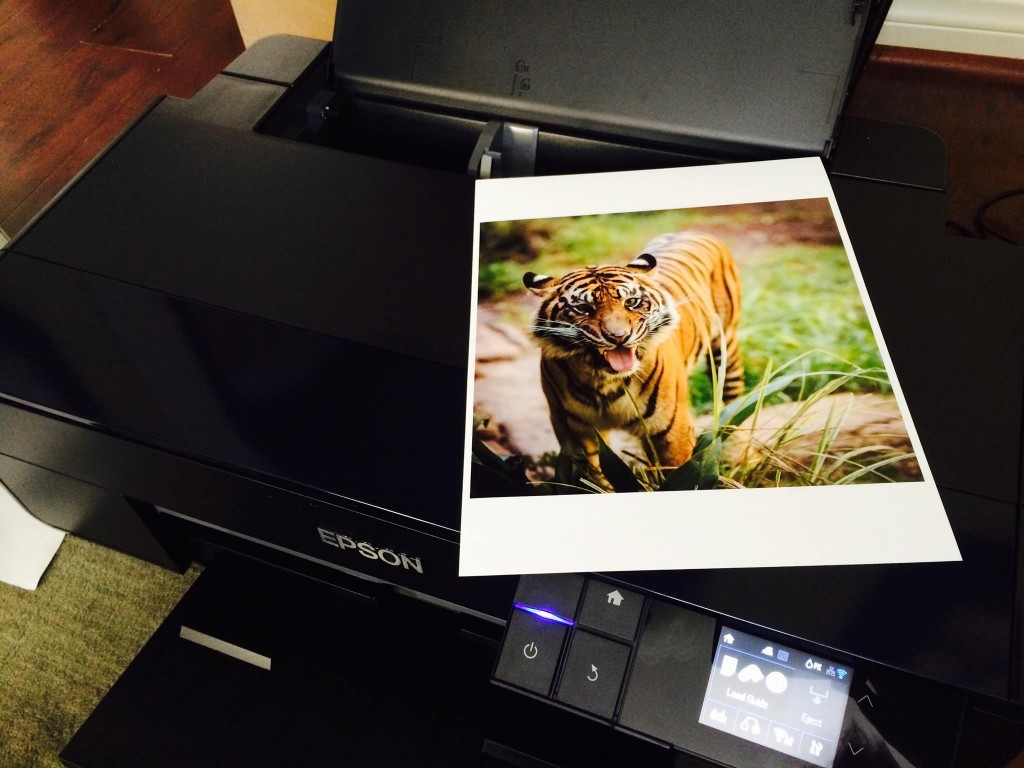
Ink
Speaking of ink. The printer comes with 9 separate ink cartridges. Which includes 4 blacks, which explains why there is so much quality in the shadows of the prints.
The cartridge colors are:
- PK: Photo black
- MK: Matt black
- LK: Medium Black
- LLK: Light black
- C: Cyan
- VM: Magenta
- VLM: Light Magenta
- LC: Light Cyan
- Y: Yellow
It’s very nice to have photo and matt black onboard, so that you can change the ink type without pulling and replacing cartridges. (Photo black is for shiny paper where as matt black is for flat printing surfaces).
There have been advances in the P600 for switching from M to P cartages where it happens a lot faster and uses less ink than the past. As you can imagine, when you change the ink type, the nozzles have to be thoroughly cleaned so no traces are left. The printer does this automatically, you don’t have to remove and clean anything yourself.
The ink uses Pigment-based Epson UltraChrome® HD ink technology and each cartridge holds 25.9 ml.
The Verdict
In summary, I really have to say that I am very impressed with this printer, more so than any printer I have tested. If you are considering an upgrade, then yes, it’s worth it to step up to the P600. If you have never printed before, you will fantastic looking prints on this printer with relative ease of setup and use.
I give the P600 a rare 5/5 and a PhotoshopCAFE Editors pick!
More info on Epson’s website.
Suggested Price $799.99

The post Epson SureColor P600 printer review appeared first on PhotoshopCAFE.